9 Must-dos to Improve the Gaming Performance of Your PC
Your ads will be inserted here by
Easy Plugin for AdSense.
Please go to the plugin admin page to
Paste your ad code OR
Suppress this ad slot.
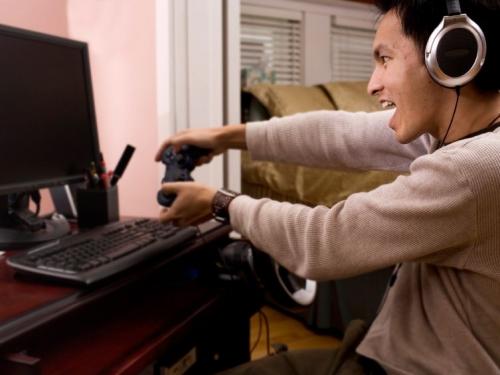
 Although PC gaming scores over console gaming in terms of superior graphics and a crisp framing rate, PC gaming is not as easy as console gaming. In PC gaming, you should have your PC highly optimized; otherwise your gaming experience will be ruined due to a hampered speed and less than beautiful looks of the game.
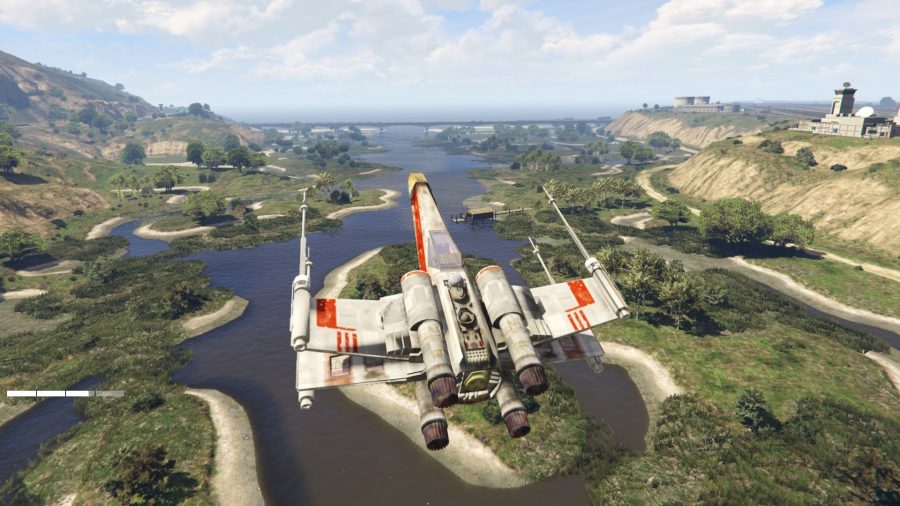
All in all, you should have your PC optimized so as to make it faster for gaming, increase your GPU’s overall performance and boost FPS. You can do all this so as to be able to play the evergreens like GTA V, Dark Souls, Destiny (2) and Star Wars video games; you just have to follow certain tips. Here are a few.
1. Upgrade Your Graphics Drivers
The factor which is a focal point of your gaming experience is your graphics card. However, it cannot give its hundred percent if your PC hasn’t the proper software installed on it. Upgrading the driver that has come as an accompaniment of either your PC or your graphics card to the newest version can make a huge difference.
But how do you know what graphics card you have in the first place? Don’t worry; it’s not a big issue. All you have to do is to first go to “Control Panel” and then to “Hardware and Sound”. After that, you should click “Device Manager”. You will get an entire list of all the built-in devices of your system opened before you. Go to “Display adapters”.
Keep in mind that you have to make sure you’re using the latest drivers.
2. Supercharge Your Graphics Card
It’s the power of your graphics chip that mostly decides your gaming performance, even more than how fast your processor is or how much memory you have. The reason for stuttering gameplay and the bottleneck practically in all cases is the graphics chip. Now that you want to improve your gaming performance, you may need to run the graphics card far more speedily than the factory speed setting. In other words, you want to do overclocking! Just 5 to 10 years ago, overclocking was not recommendable because it posed a considerably high risk to the hardware. However, today most systems have the capability to automatically turn themselves off. In addition, here only a slight overclocking i.e. by around 10-15% is recommended.
It should be remembered that overclocking increases the temperature of and stress on all your hardware, and not just the GPU or CPU. Hence it should be done extremely carefully.
3. Improve Your FPS with “Program Deactivator” and “Uninstaller”
The speed of your Windows becomes increasingly slower with every program you install on your PC and obviously it directly affects all your games. The reason behind this is that several programs run some kind of background activity, even when you are not using them. You can easily uninstall programs that you are not using and also lessen the impact of those that you are using, with the built-in Windows uninstaller or AVG.
4. How to Uninstall Old Programs with AVG?
You can install AVG’s 15-day trial. Once you install it, go the “Optimize” category and first just click “Uninstall Programs”. The difference between AVG and the built-in Windows uninstaller is that AVG has a filtering feature that enables you to find programs that you haven’t used for a long, long time. You can click “Filter list” and select “Programs not used for a long time” and “Rarely used programs”. When you find such programs, you just have to click the “Uninstall” button. You can also deal with the programs that you need on a regular basis but are reducing your gaming performance. Here you can use the AVG Program Deactivator to turn those programs off in a safe way. You can bring them back to life anytime when you need them. This is the best way to cut down heavy background tasks and run your gaming PC almost as good as new and your games much faster.
5. Upgrade Your Graphics Card
If you’ve ever treated yourself with a 4K projector, you may have noticed that your old gaming PC can’t keep up. While games like Witcher 3 may run fine in Full HD, your GeForce may have to struggle with 4K which is basically 4x the resolution. It’s about 4096×2160 pixels versus 1920×1080.
The graphical power to actually render 4K games at a smooth 60 FPS has been offered just recently by NVIDIA’s Pascal GPU generation. It should be noted that the heightened GPU’s 1080 TI or the Titan XP are actually made for these types of needs. The upgrade can bring around 4 times increase and is still the most effective way to improve performance.
6. Turn SuperFetch and Prefetch Off
Both these terms denote features by the Windows that are designed to enhance Windows and applications startup times. But you’ll notice that in case of games, background activity as well as loading times actually increase when they are enabled. Hence it’s recommended to turn them off if you are an ardent gamer.
To disable these two, go to the “Control Panel”, then to “System and Security”, then to “Administrative Tools” and “Services”. Keep scrolling down till you find the “SuperFetch”. Once you find it, double-click on it and choose “Disabled”. Then click “OK” and close all windows. Then open the registry, click the Start orb and write in “regedit”. Hit Enter and then go to “HKEY_LOCAL_MACHINESYSTEMCurrentControlSetControlSession ManagerMemory ManagementPrefetchParameters”. Double-click “EnablePrefetcher” and enter “0” (default value is “3”) and the Prefetcher will be disabled.
Your ads will be inserted here by
Easy Plugin for AdSense.
Please go to the plugin admin page to
Paste your ad code OR
Suppress this ad slot.
NOTE: Follow these instructions very carefully because changing or deleting wrong values in the registry may lead to problems in your PC.
7. TRIM or Defrag Your Disk
When data is added to or deleted from your disk, files get fragmented and will spread out physically all over your disk drive. This will cause a considerable performance hit, particularly with gaming, since the hard disk first has to collect all these fragments so as to be able to entirely process the whole file. Since your games as well as their files normally occupy a lot of GBs, it’s important that all these files can be read in a correct manner.
To defrag the disk, go to the Start menu, then go to “All Programs”, then to “Accessories”, then to “System Tools” and then to “Disk Defragmenter”.
Now select your Windows disk, and hit “Defragment disk”. Remember that you should not defrag if you have an SSD. Instead you should use the TRIM command to optimize them.
The TRIM command into the Disk Defragmenter has been integrated in Windows 8 by Microsoft; so, you just have to hit “Optimize”. This hasn’t been offered in Windows 7, hence you should make sure the TRIM command is regularly executed. To check if TRIM is enabled, click the Start orb and type in “cmd” in the search bar. When results open, right-click the first one and click “Run as administrator”. Then give the command “Fsutil behavior query disabledeletenotify”, and hit Enter. If this results as “=0”, you can go ahead. Otherwise, TRIM isn’t supported and should be enabled. Try the command “fsutil behavior set DisableDeleteNotify 0″. If this isn’t of help, you may need a firmware upgrade to enable TRIM.
8. Upgrade to an SSD
SSDs cannot certainly boost the frame rate of your game, but it is much quicker than mechanical hard disks and thus can certainly reduce your game’s loading time.
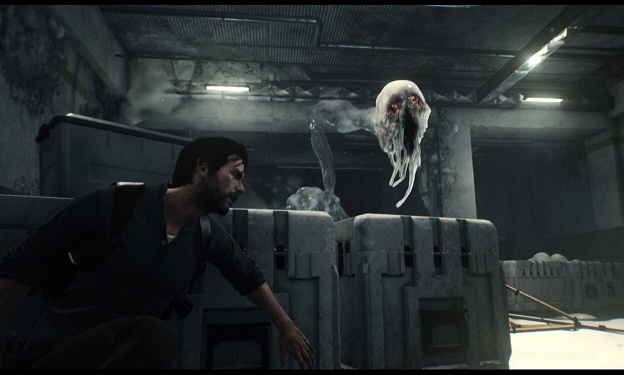
It’s a good idea to upgrade to an SSD with over 250 GB since most games of today take up from 8 to 20 GB. For example, your Steam folder can clock in a huge 60 Gigabyte where you could have bought the new Tomb Raider, Evil Within 2, Empires III and GT5 online. Add Windows to that (additional 30 GB), some applications and your personal data. You’ll be reaching the 256GB very soon.
When get your load times slashed, you can spend less time waiting and more time playing!
9. Tweak the NVIDIA Control Panel
NVIDIA drivers have their own control panels that allow you to tweak the most important 3D settings. Although you can set several options in-game, some are either unavailable or controlled directly by the driver. Hence it’s a good idea to check the list of options and tweak them to best visual quality and balanced performance.
To reach the NVIDIA Control Panel, right-click anywhere on your screen, select “NVIDIA Control Panel” and go to the “Manage 3D Settings” category on the left.
Some of the not so well-known but yet important settings to tweak are:
Threaded Optimization: This option must always be “On”, since it enables the support of multi-threaded optimization for the latest multi-core processors.
Maximum Pre-Rendered Frames: The number of frames that is prepared by the processor before transferring to graphics card is controlled by this option. If it’s increased, you get a smoother gameplay. To eliminate any lag, “1″ setting can be tried.
VSync: This syncs the frames rendered by your graphics with your monitor’s refresh rate. If it’s disabled, you may notice that games run more smoothly, but also, you’ll find that the screen’s some part may not be rendered correctly and seem to lag. Disable this only if your gameplay has a lower frame rate than your monitor.
Follow these tips to improve the gaming performance of your PC and enjoy playing to the fullest.


